To ensure the accuracy of your analysis, please follow the photo instructions below. You can upload up to 5 photos and please upload one photo of yourself where your hair, makeup and clothing colors reflect how you look currently look and style yourself. All questions must be answered before submitting your form.
How To Take Your Photos
All photos are kept private and never shared online. Your results will be delivered within 10 business days of receiving your photos (excluding weekends and holidays).
Photo Instructions
Prep: Please remove all makeup, tinted moisturizer/sunscreen or self tanner. Face should be 100% bare and freshly washed. Wear form-fitting clothing, like solid-colored leggings and a fitted white top. A white shirt needs to be worn to prevent any colors reflecting onto your face for the color analysis. A sports bra is also a great option(for the body shape). Hair should be pulled fully away from your face.
Lighting Check: Double check that your photo will be taken in good lighting. Please avoid taking photos in dark rooms or where shadows come across your body.
Use the Back Camera: Please do not use the front-facing "selfie" camera. Front facing cameras use wide angle lenses that create distortion within the image. If you use a selfie camera, your picture will not be accurate to how you actually look.
Get Help or Prop It Up: The easiest way to do this is to have a friend take the photos for you! If you are flying solo, use a tripod and your camera's self-timer.
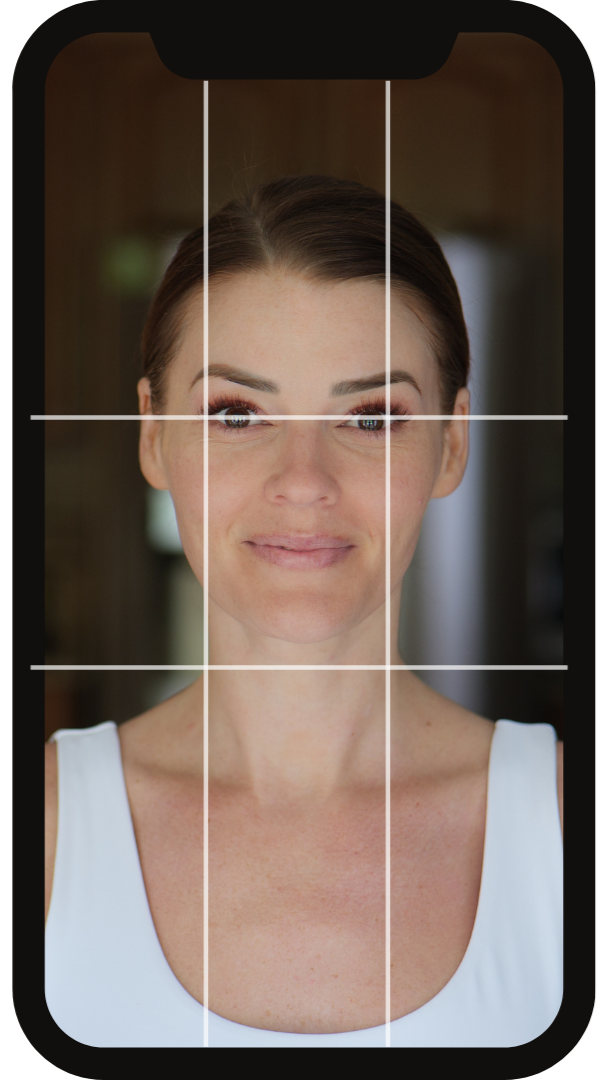
Photo 1: Face Shape Analysis & Color Analysis
Your Face Shape & Color Analysis photo can be the same photo.
Prep: Pull your hair completely back and away from your face and neck so your hairline, jawline, and ears are visible. Remove any glasses. Hair should be as smooth as possible. Please remove makeup, tinted moisturizer/sunscreen or self tanner. Please wear a white shirt to prevent any color reflecting onto your skin.
Lighting Check: Double check that you are directly facing natural window light. This is the most important step for getting your undertones right. Your face should be evenly lit with no shadows.
Turn on Grid Lines: Go to your camera settings and turn on the "Grid" feature. This will help you or your friend keep the phone perfectly straight and center you in the frame.
Apple Devices: open the Settings app, scroll down and tap Camera, then toggle on the Grid option under the "Composition" section.
Android Devices: Open the Camera app, tap the Settings (gear icon), and toggle on Grid lines or Grid
Zoom In: Set your camera to 2x - 3X zoom, this makes the camera capture you exactly as the human eye sees you. Do not use your phones Portrait Mode. Most phones auto correct lighting and apply filters in Portrait Mode
Angle & Distance: Your eyes should line up with the top line. Please keep the camera at a distance to where your shoulders are lightly seen in the camera and your white shirt is visible.
Pose: Look straight into the camera lens. Avoid tilting or angling your face, you should be looking straight at the camera.
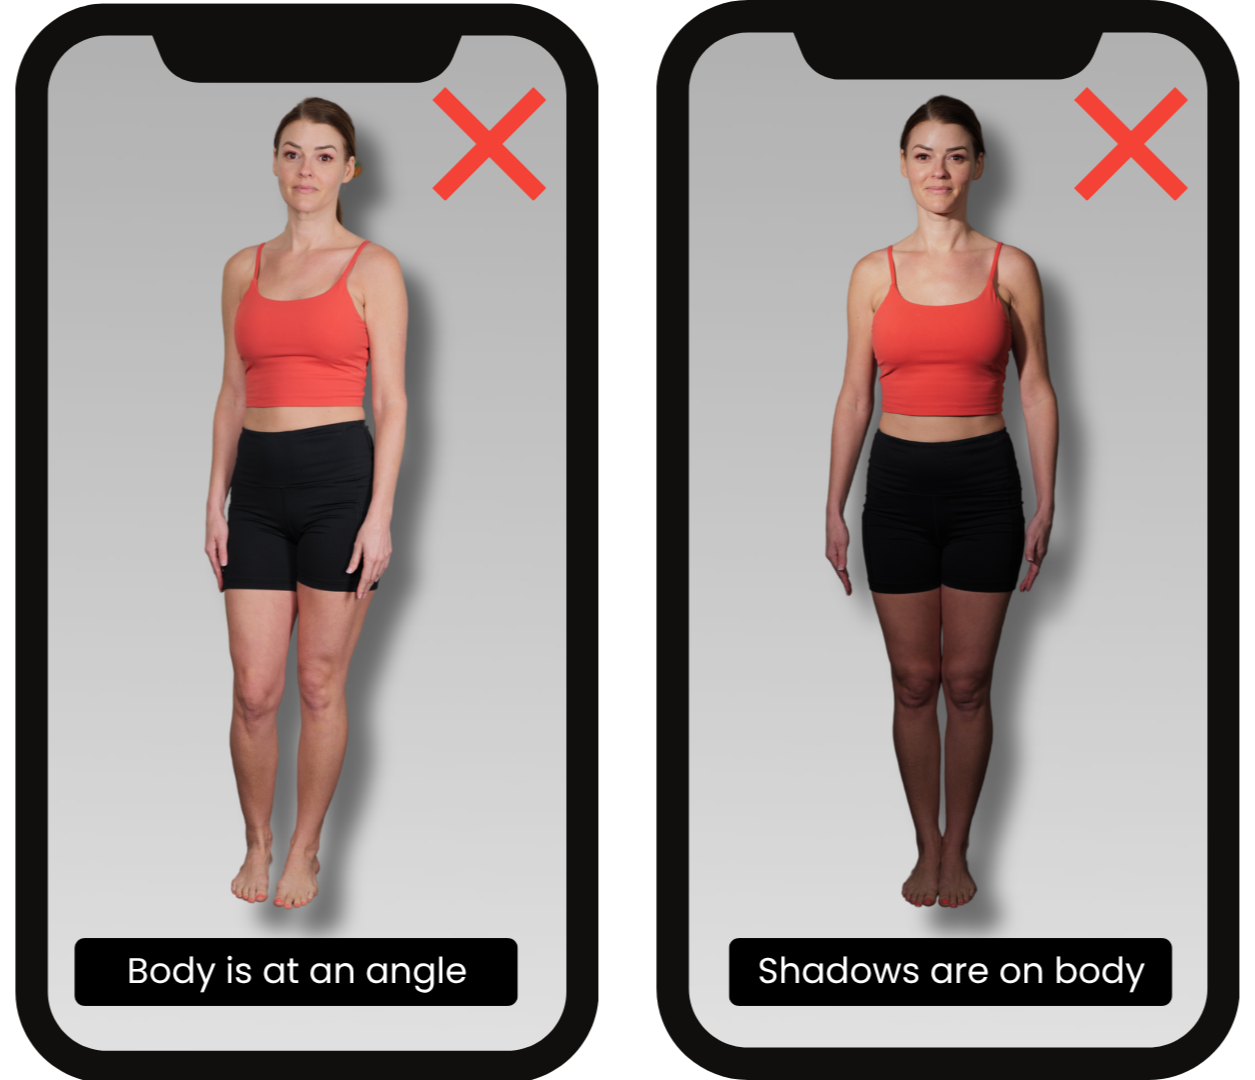
Correct and Incorrect Photo Examples

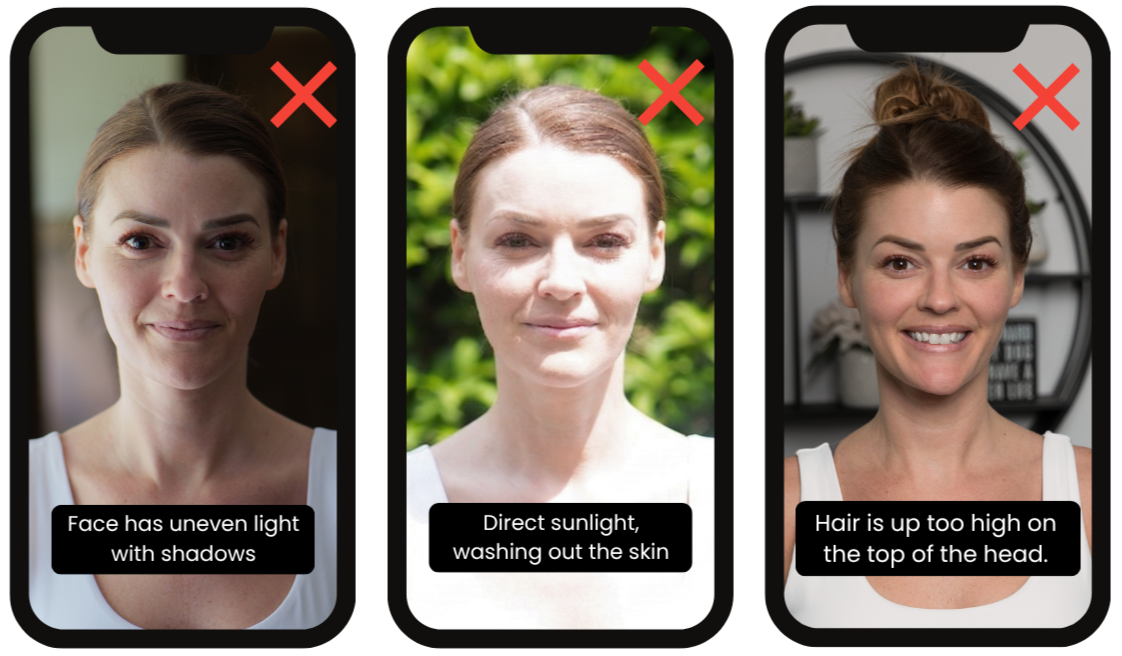
Photo 2: Body Shape Analysis
Prep: Wear form-fitting clothing, like solid-colored leggings and a fitted tank top. A sports bra is also a great option.
Lighting Check: Double check that your photo will be taken in good lighting. Please avoid taking photos in dark rooms or where shadows come across your body.
Use the Back Camera: Please do not use the front-facing "selfie" camera. Front facing cameras use wide angle lenses that create distortion within the image.
Get Help or Prop It Up: The easiest way to do this is to have a friend take the photos for you! If you are flying solo, use a tripod and your camera's self-timer.
Camera Height: Position the phone or camera exactly at waist or belly-button level. This prevents the camera from artificially stretching or shrinking your top or bottom half. Please make sure your body from head to toe is visible in the shot.
Pose: Stand straight, facing the camera directly. Stand with your feet placed together and your arms resting slightly away from your sides so the outline of your waist is clearly visible. Avoid angling your body, or resting your weight on one hip.

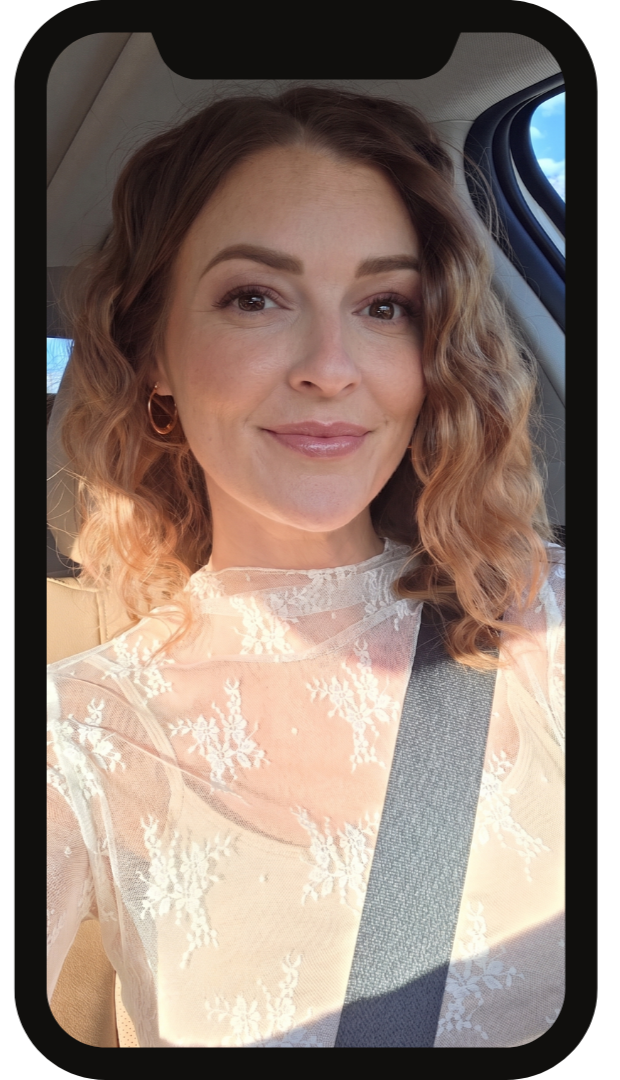
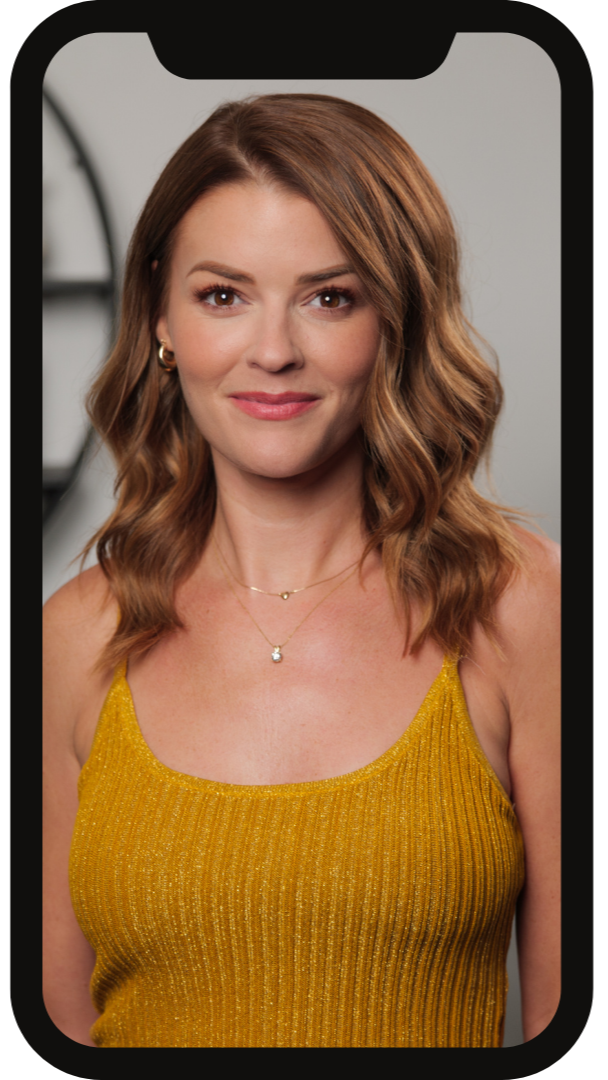
Remember to include one photo of you with your hair, makeup and clothes done/worn in the way you currently do now. Photos taken in a similar style to the ones below work perfectly.